Readers like you help support Windows Mode. When you make a purchase using links on our site, we may earn an affiliate commission. All opinions remain my own.
![]()
Want to play mobile games on a bigger screen? Picture using BlueStacks on your Windows PC to run Android games like Free Fire or PUBG with smooth graphics, keyboard controls, and multi-tasking power.
You can download BlueStacks on your Windows PC for free, offering access to over 2 million Android apps and games via the Google Play Store.
Built by BlueStacks, it works on Windows 7, 10, and 11, and has been a top Android emulator since 2011.
As someone gaming or using mobile apps, you need a tool that’s fast and customizable.
This guide covers installing it on Windows, its key features, and tips to get started.
Share your favorite mobile game below, or contact us for help.
How to Download & Install BlueStacks on PC
To get BlueStacks on your Windows PC, download it from the official site. Here’s how:
- Official Website
- Visit the page: BlueStacks.
- Click Download (free) to get the .exe file.
- Run the installer (about 900 MB) and follow the setup.
- Sign in with your Google account to access the Play Store.
Quick Tip: 💡 Enable high FPS in Game Settings for smoother gameplay.

What is BlueStacks About?
BlueStacks, launched by BlueStacks in 2011, is a free Android emulator for Windows and Mac, letting you run mobile apps and games on your PC. It supports a library of over 2 million Android titles, with features like multi-instance and high FPS for gaming. Users on X praise its speed and controls, making it a favorite for gamers and app enthusiasts.
Core Features: Run Android apps and games with enhanced performance and controls.
Why Use BlueStacks on Windows?
It’s free, fast, and transforms your PC into a mobile gaming hub.
- Access 2 million+ Android apps via Google Play
- Run multiple games or apps with Multi-Instance
- Customize controls with keyboard and mouse mapping
- High FPS up to 240 for smooth gameplay
- Record macros to automate in-game tasks
Quick Start Guide for BlueStacks
New to BlueStacks? Get going quick:
- Sign in with your Google account to access the Play Store.
- Download a game or app from the Play Store.
- Map controls in the Game Controls menu.
Best Settings for BlueStacks on PC
Tweak these for a better experience:
- Performance: Allocate 4 GB RAM in Engine Settings.
- Graphics: Enable high FPS and OpenGL in Display settings.
- Controls: Save custom keymaps for each game.
Common Issues & Fixes for BlueStacks
- Slow Performance: Enable virtualization in BIOS or increase RAM allocation.
- Play Store Errors: Clear cache in Android Settings.
- Game Crashes: Update graphics drivers or lower FPS.
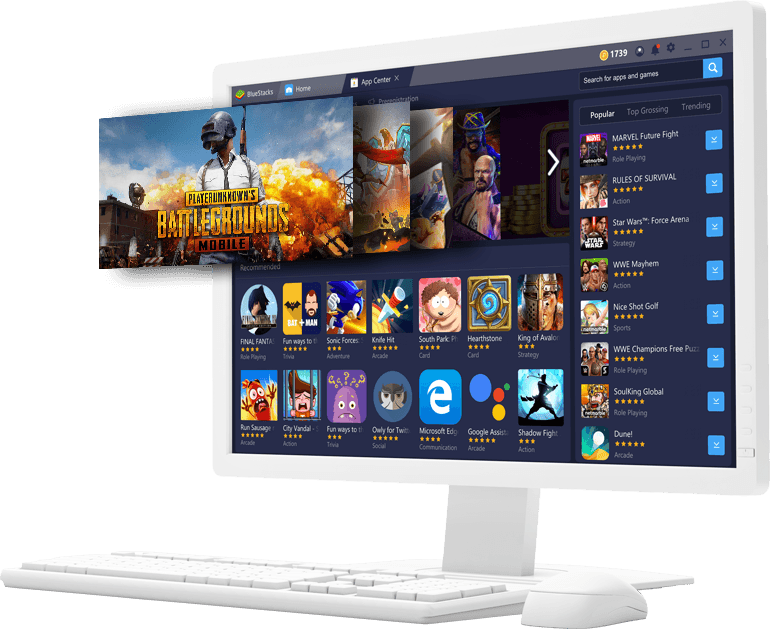
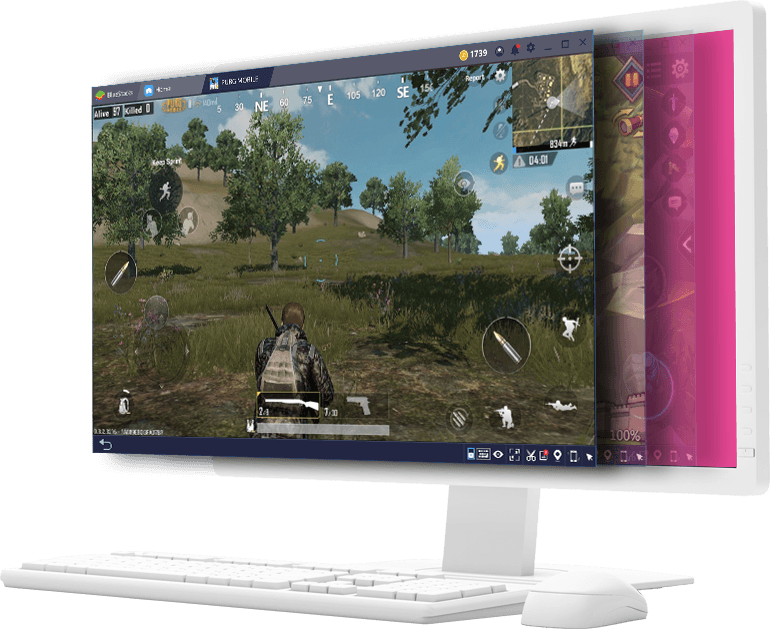
BlueStacks Screenshots
BlueStacks Beginner’s Video
Watch this quick guide to learn how to use BlueStacks on your PC:
System Requirements for BlueStacks on Windows
- OS: Windows 7, 10, 11 (32-bit or 64-bit)
- CPU: Intel or AMD Multi-Core, benchmark score > 1000
- RAM: 4 GB minimum, 8 GB recommended
- Storage: 5 GB free
- Other: Internet, up-to-date graphics drivers, admin access
BlueStacks on Windows FAQ
- Is BlueStacks free? Yes, with optional paid features.
- Can it run on low-end PCs? Yes, but performance may vary.
- Does it need a Google account? Yes, for Play Store access.
Support and Community
Explore More Windows Apps: Penbook, Animotica, Open Any File
Discover more from Windows Mode
Subscribe to get the latest posts sent to your email.